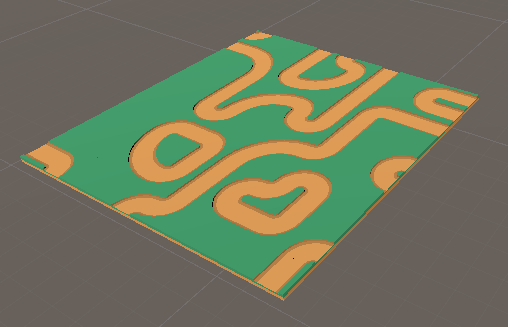
Big Tiles Tutorial
This tutorial continues from the Getting Started tutorial. It is recommended you complete that one before starting this.
So far we've looked at generating game objects that all have the same size. That is convenient, but the clear grid structure is not always desired. Here we look at one way of addressing that. If normal tiles only occupy one cell in the output, the big tiles can straddle several cells. That means you can design a larger set piece cohesively.
Note
Big Tiles should only be used for tiles that are larger than your grid's tile size. If you are creating every tile using Big Tiles, you're better off just changing the grid.
Let's add a new tile from Kenney's Tower Defense Kit. This time, pick tile_cornerLarge. It is twice as bit as a regular tile in the X and Z dimensions, so it will occupy 4 cells in the final generation.
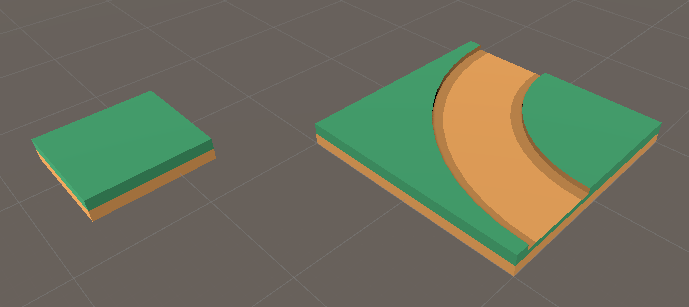
Lets set it up. As before, add the TesseraTile component. Then set the Center to (-0.5, 0, -0.5). This will place the paintable cube in one corner of the tile.
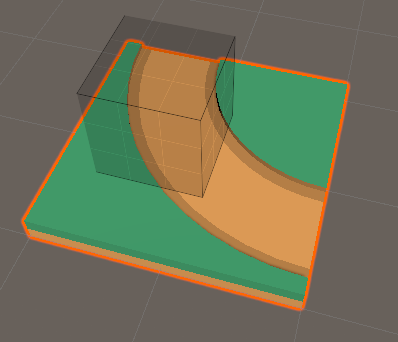
Then select the "Add Cell" tool from the paint menu  . You can now click on faces of the paintable cube to make a tile with multiple cubes in it. If you make a mistake, you can use the "Remove Cell" tool to delete them.
Note
Big Tiles should have the same Cell Size as other tiles. You must use the Add Cell tool to make big tiles.
Add 3 extra cubes to the tile to cover it. This tile will now take up 4 cells worth of space, replacing 4 normal tiles.
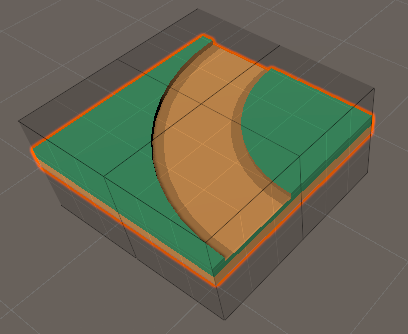
Paint the sides of the new tile green and brown, like the original tiles, to indicate how it connects.
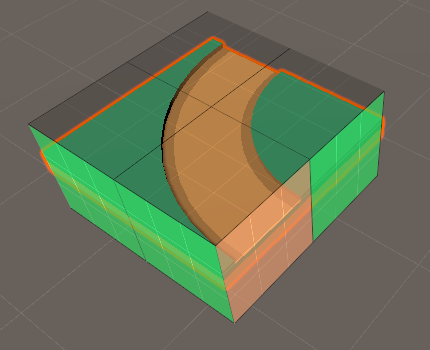
Now we're ready to add this cube to the list of tiles in the generator, and hit Generate. The new tile will be seamlessly mixed with the smaller tiles.
