Getting Started Tutorial
Setup
Start a new project. Then download Tessera from the Unity Asset Store and import it to your unity project.
For this tutorial, we'll also use use Kenney's Tower Defense Kit so either download that or use the files included in Samples/GrassPaths/Models.
Creating tiles
Lets create some tiles. From the tower defense assets, drag the prefabs for tile, tile_cornerRound and tile_straight. These tiles are a small selection of grass and path tiles.

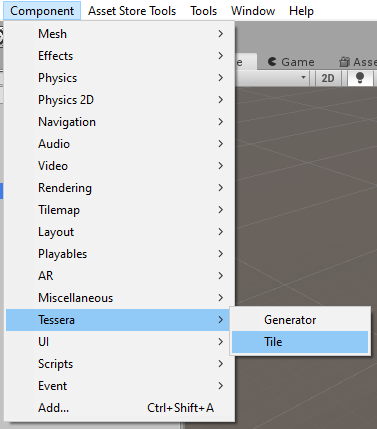
Then, with those game objects selected, add the TesseraTile component from the menu.

That's all for now, we'll configure the tiles later.
Creating the generator
Next, create a new empty GameObject, and give it the TesseraGenerator component from the menu. Bring it up in the inspector. Add the tiles we created before to the list of tiles, either by dragging them from the hierarchy onto the Tiles section, or clicking the small plus button and selecting each tile.
Position the generator so that it does not overlap the tiles you created.
Afterwards, your configuation should look like this:

There's more details on these settings here.
Now press the "Generate" button to create a new arrangement of those three tiles. You should get something looking like this:

It's generated the tiles, but right now it doesn't know which tiles can be placed next to which other ones. So it has just placed them randomly. Hit undo to delete the created tiles.
To fix this, we need to paint the tiles.
Tile painting
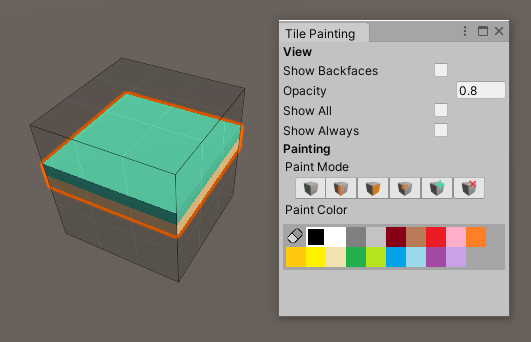
Select the first tile, called tile. In the inspector, click the "paint faces" button.  .
.
This should pop-up a "Tile Painting" window, and also show a semi-transparent cube around the tile.

You can use these tools to paint different colors onto the tile's cube. First, select a paint color from the palette, the click on the cube to apply that color. If you make a mistake, select the eraser from the palette and clear what has been painted.
Tiles can only connect to each other if they have matching colors painted on their corresponding faces. Specifically, each face is divided subdivided into 9 squares. A pair of adjacent tiles are compared by pairing up the squares on the opposing faces, and seeing if they match. Squares match if they are both the same color, or if either square is transparent, though this can be customized with a Palette.
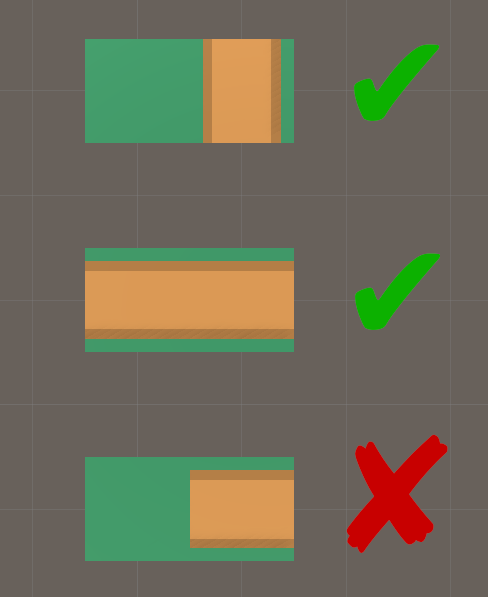
In this case, we want tiles to connect to each other if they are both grassy, or if they are both a path, but do not want paths to lead straight into grass.

In order to achieve this, we will paint all the grassy faces of each tile green, and all the faces with paths brown. The top and bottom we will leave alone. That will connect grass to grass, paths to paths, and disallow grass connecting to paths.
Paint all 4 sides of the 3 tiles now. Afterwards, you should have three tiles that look like this.
Front view:

Rotating each tile 180 degrees for a rear view:

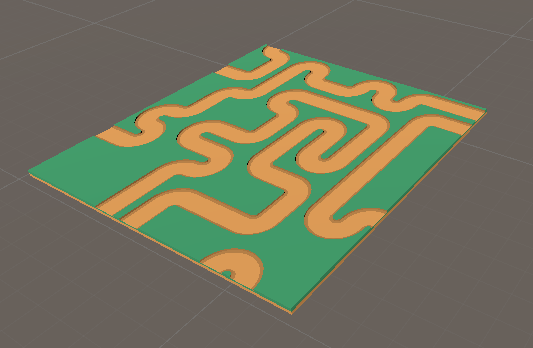
Now we can go to the generator and press the "Generate" button again. Make sure you have deleted the tiles it created the first time around as it won't overwrite already generated tiles. If everything is set up correctly, it should look like this.

This concludes the tutorial. From here you can experiment with some of the settings in the inspector, try adding more tiles from the tower defense assets, or read the more advanced tutorials.